
In this blog post I will explain how I built this blog with Astro and Cloudflare Pages. It’s a fast & lightweight static site that scores a ~100% on Google PageSpeed Insights.
It’s a great solution if you want to build a fast blog with a modern framework and deploy it to your own custom domain for free.
I won’t go into great detail about how to customise Astro, but I will explain the basics and provide links to in-depth resources.
Contents
Open Table Of Contents
Why Astro?
Astro![]() is a modern web framework for building fast and optimised websites. It allows you to write less JavaScript, resulting in faster loading times. Astro achieves this by delivering HTML first, and then loading minimal JavaScript as needed. This approach makes it a great choice for building a blog, as it allows for excellent performance and a great user experience.
is a modern web framework for building fast and optimised websites. It allows you to write less JavaScript, resulting in faster loading times. Astro achieves this by delivering HTML first, and then loading minimal JavaScript as needed. This approach makes it a great choice for building a blog, as it allows for excellent performance and a great user experience.
Here are some features of Astro that contribute to its suitability for blog creation:
-
Modern web framework: Astro is designed for building fast and optimised websites. It prioritises delivering HTML first and loading minimal JavaScript as needed, resulting in faster loading times and a better user experience.
-
Flexible rendering strategies: Astro supports many popular rendering strategies out of the box, including Static Site Generation (SSG) and Server-Side Rendering (SSR). This flexibility makes it suitable for a wide range of projects.
-
Framework support: With Astro, you can write components using your favourite JavaScript framework, or no framework at all. Astro will render them to static HTML and CSS. This means you can use React, Vue, Svelte, or just plain JavaScript to create components.
-
Great documentation and community: Astro has comprehensive documentation and a supportive community, making it a great choice for both beginners and experienced developers.
Installation
Prerequisites
Before setting up your new Astro project, you will need to install a recent Node.js LTS![]() version. Check the Astro documentation
version. Check the Astro documentation![]() to see the latest required NodeJS version.
to see the latest required NodeJS version.
While not required, it’s also recommended to use VS Code![]() as your code editor and use the official Astro extension
as your code editor and use the official Astro extension![]() .
.
Theme selection
After installing the prerequisites, I recommend looking for an existing theme to use as a starting point. This will save lot’s of time, as you won’t need to rebuild all features yourself. You can find a list of themes on the Astro website![]() .
.
Here are some of my favourite Astro themes:
- Astro Starter Kit: Blog
 - Official Blog Starter Kit, has minimal styling, comes with the basics for a blog. I’d recommend this one if you want to start fresh and build something yourself.
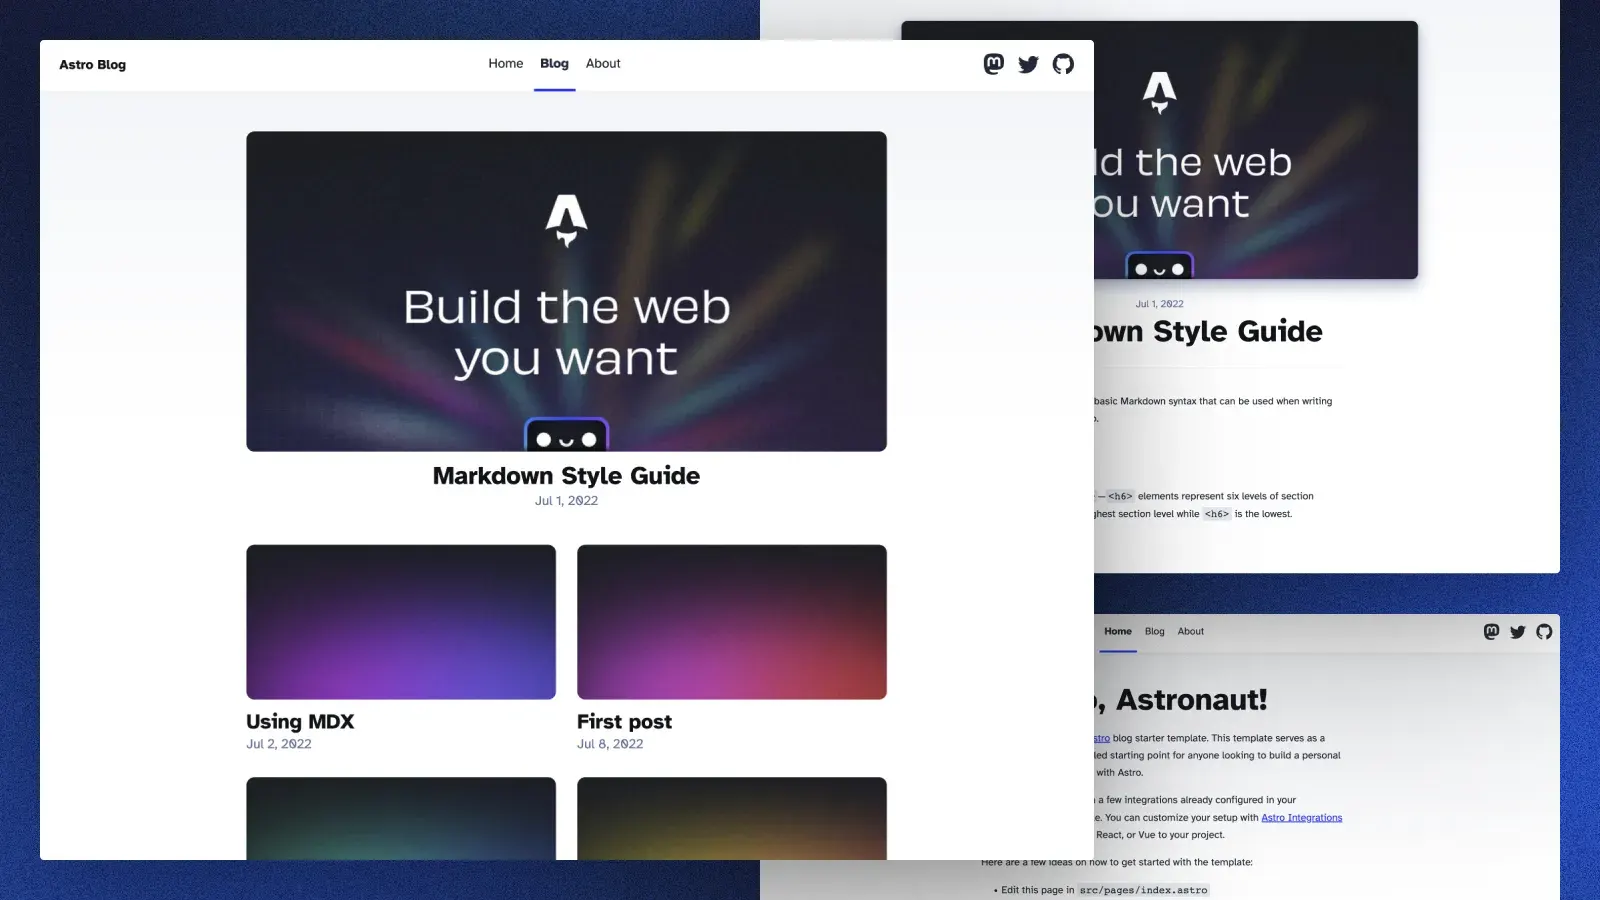
- Astro Paper - I am using a customised version for this blog, mostly because it comes with Fuzzy Search, RSS feeds, Sitemaps, Dynamic OG image generation & TailwindCSS out of the box.
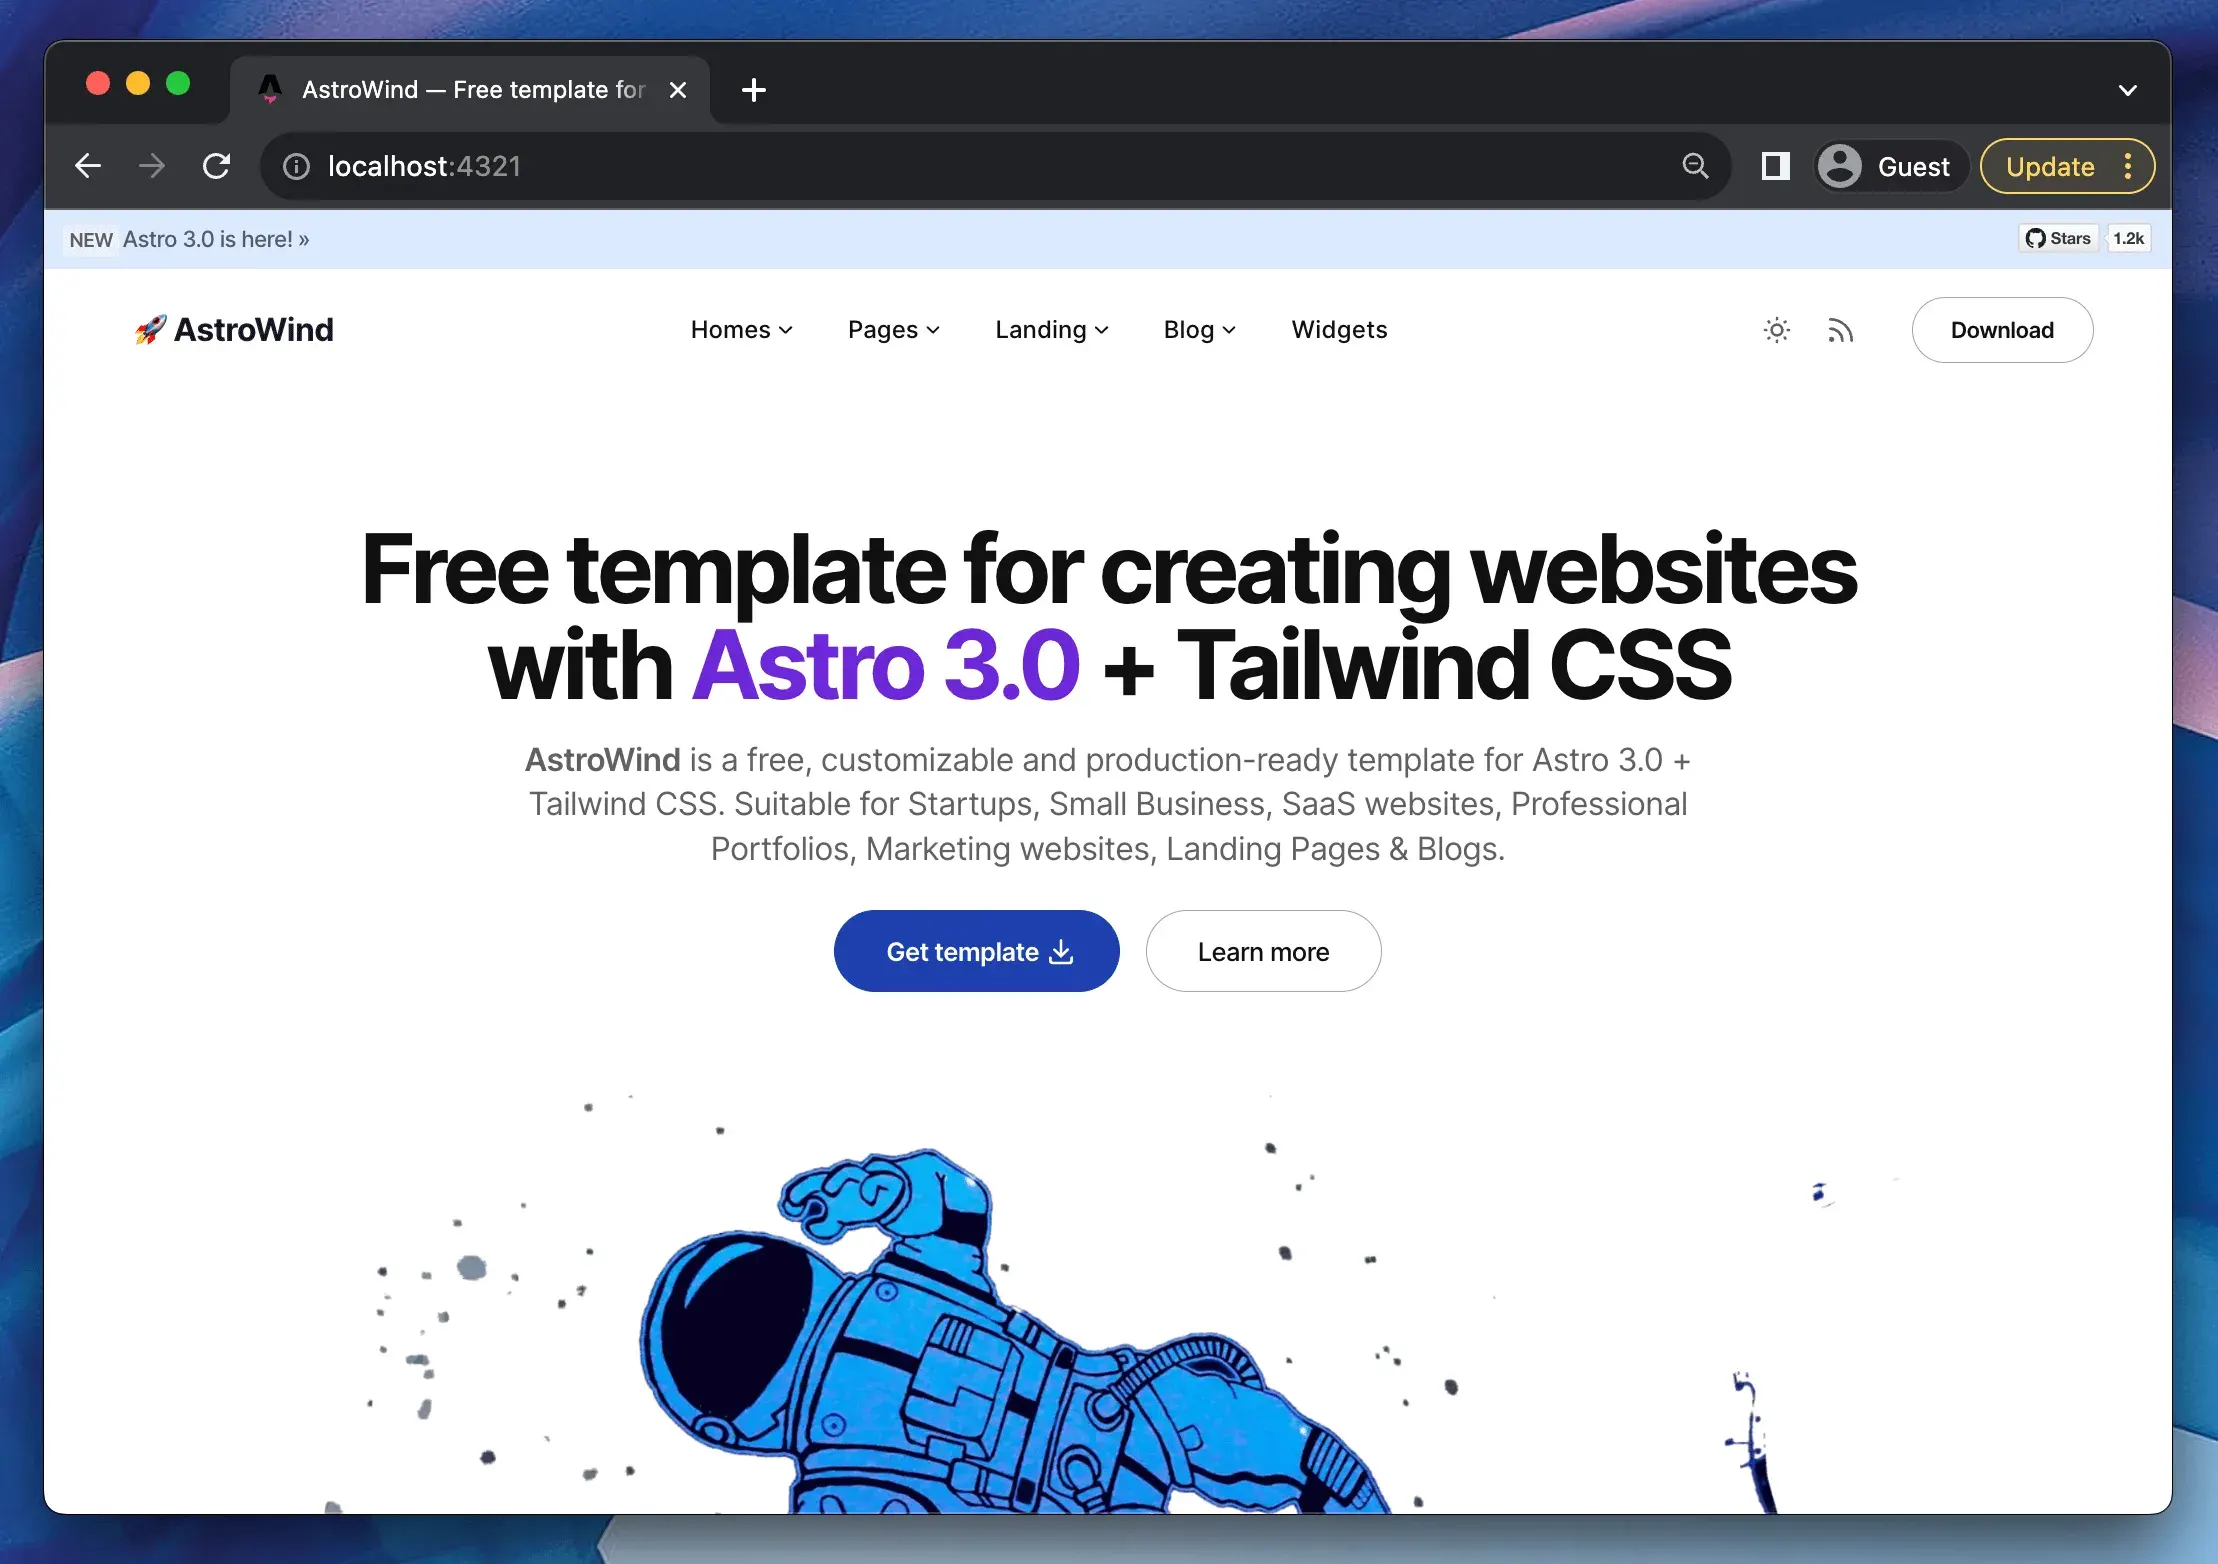
- AstroWind comes with lots of features out of the box, including RSS feeds & Astro 3.0 support.
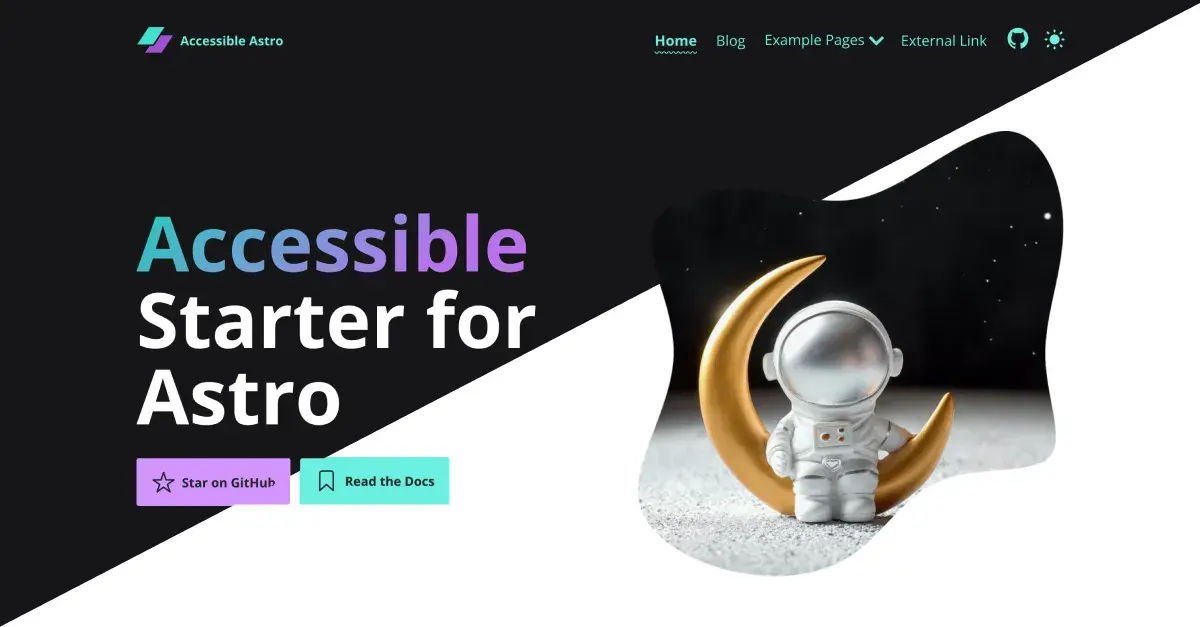
- Accessible Astro Starter is a pre-configured, SEO-optimized, and accessibility-friendly blogging theme. It comes with a variety of accessible components for creating various types of pages.
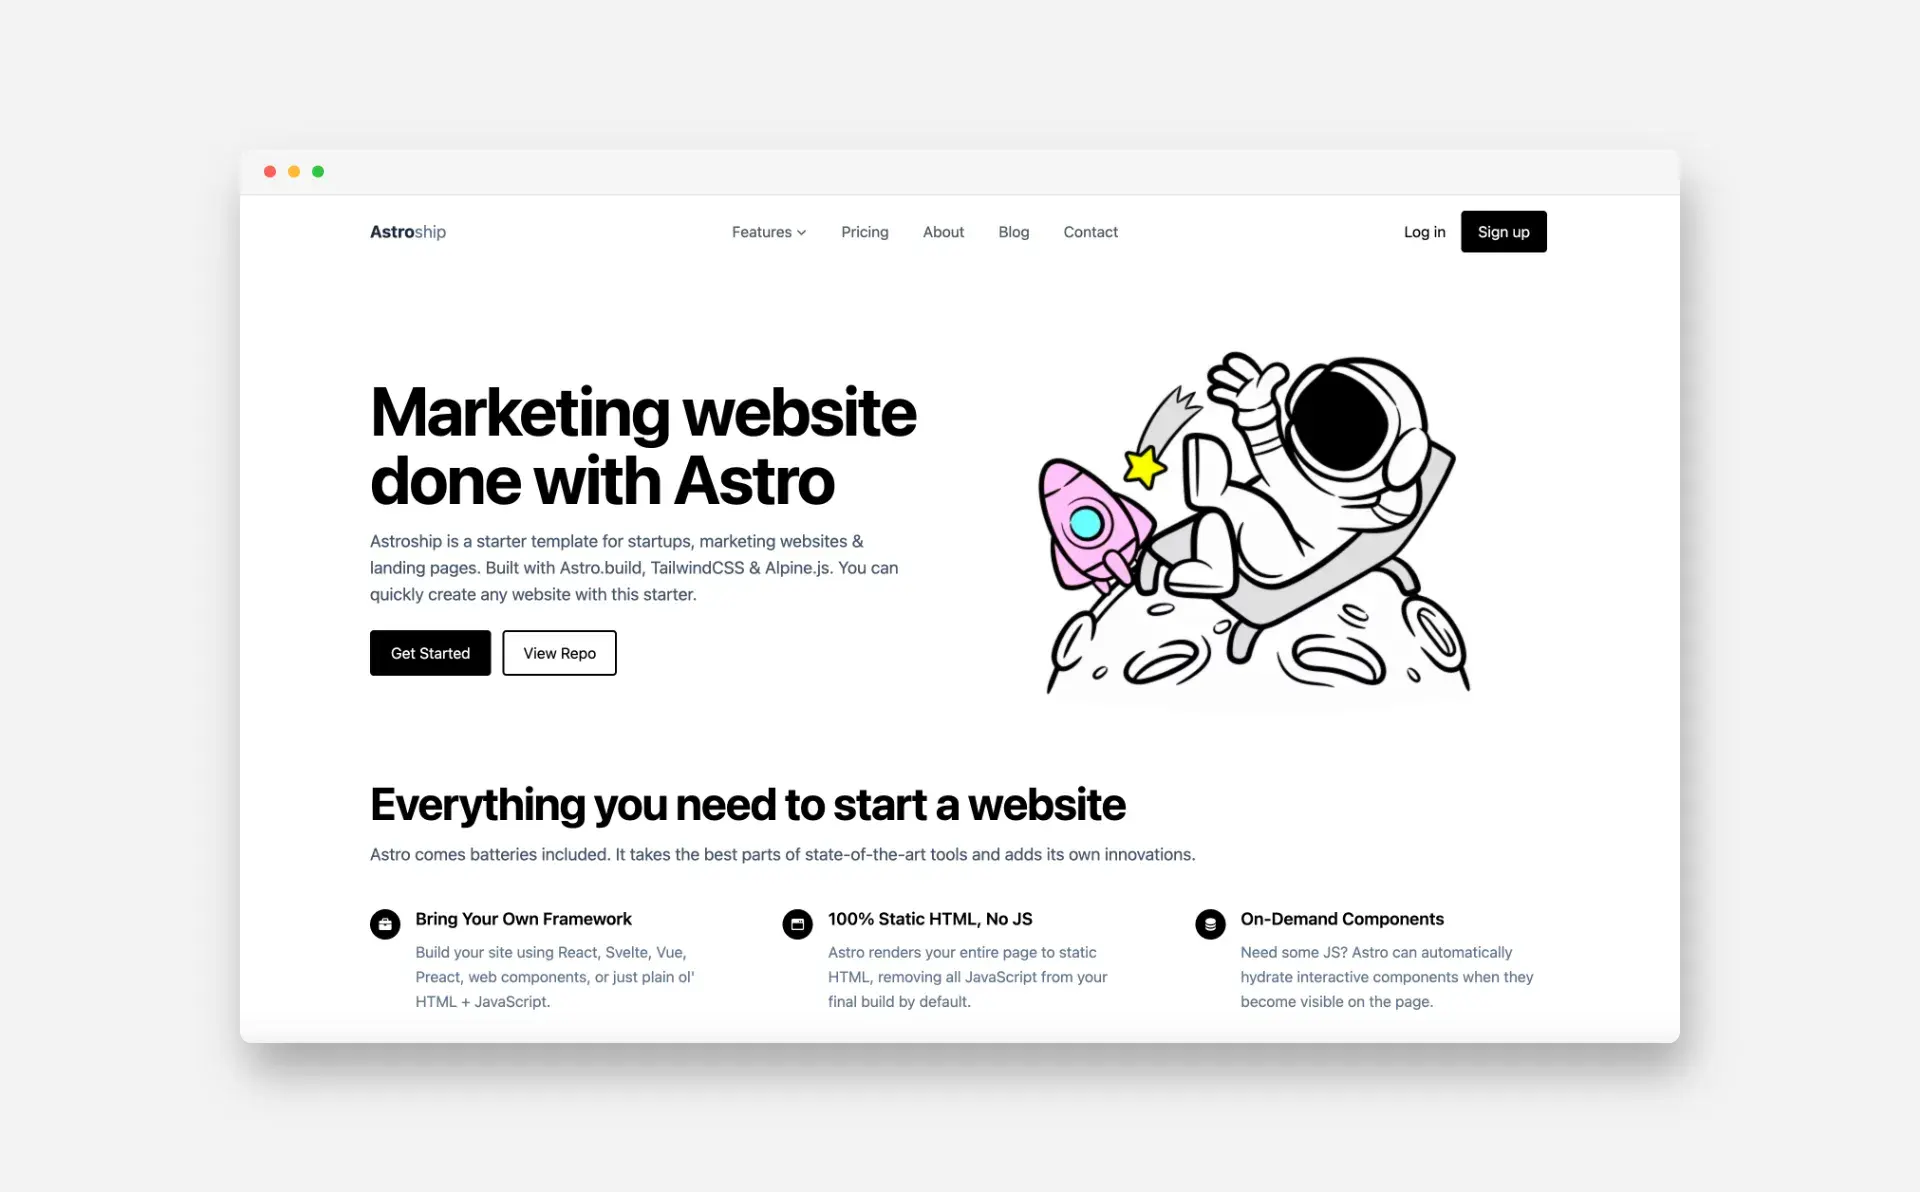
- AstroShip is a marketing website template. It’s a great starting point for building a landing page or marketing website.
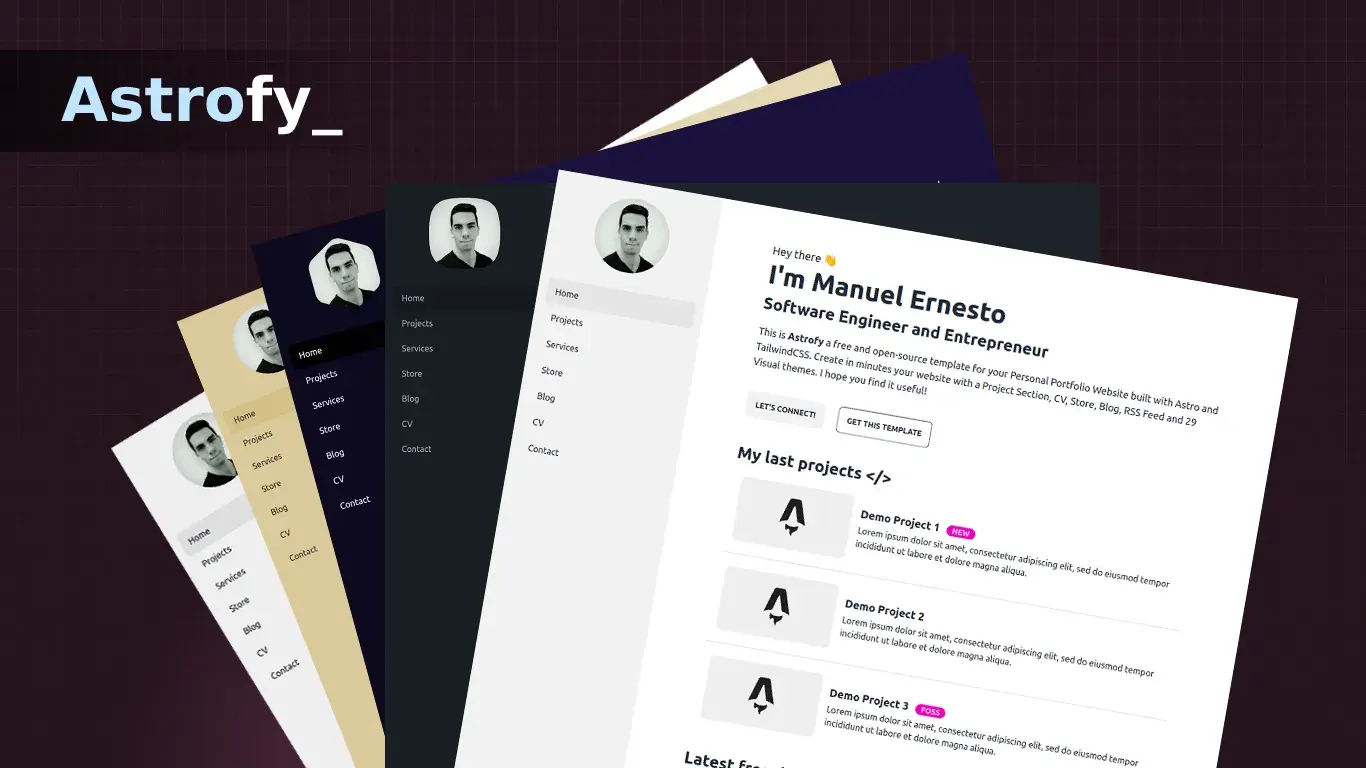
- Astrofy | Personal Portfolio Website Template is a personal portfolio website template. It’s focused on simplicity and minimalism, making it a great choice for showcasing your work.
Let me know if you find good working other themes.
Installation
After picking a theme, you can install Astro and the theme using one of the following commands:
# create a new project with an official example
npm create astro@latest -- --template <example-name>

# create a new project based on a GitHub repository’s main branch
npm create astro@latest -- --template <github-username>/<github-repo>
This will launch the creation wizard. Follow the steps to setup your new project. Finally, cd to your new folder. You can then run npm run dev to start the development server.
Your new project contains the following files:
src/* - Your project source code (components, pages, styles, etc.)
public/* - Your non-code, unprocessed assets (fonts, icons, etc.)
package.json - A project manifest.
astro.config.mjs - An Astro configuration file.
tsconfig.json - A TypeScript configuration file.
Cloudflare Pages
For simplicity, I recommend using Cloudflare Pages![]() to deploy your Astro blog. It’s free, fast and easy to set up. I assume you already have a Cloudflare account, if not, you can sign up here
to deploy your Astro blog. It’s free, fast and easy to set up. I assume you already have a Cloudflare account, if not, you can sign up here![]() .
.
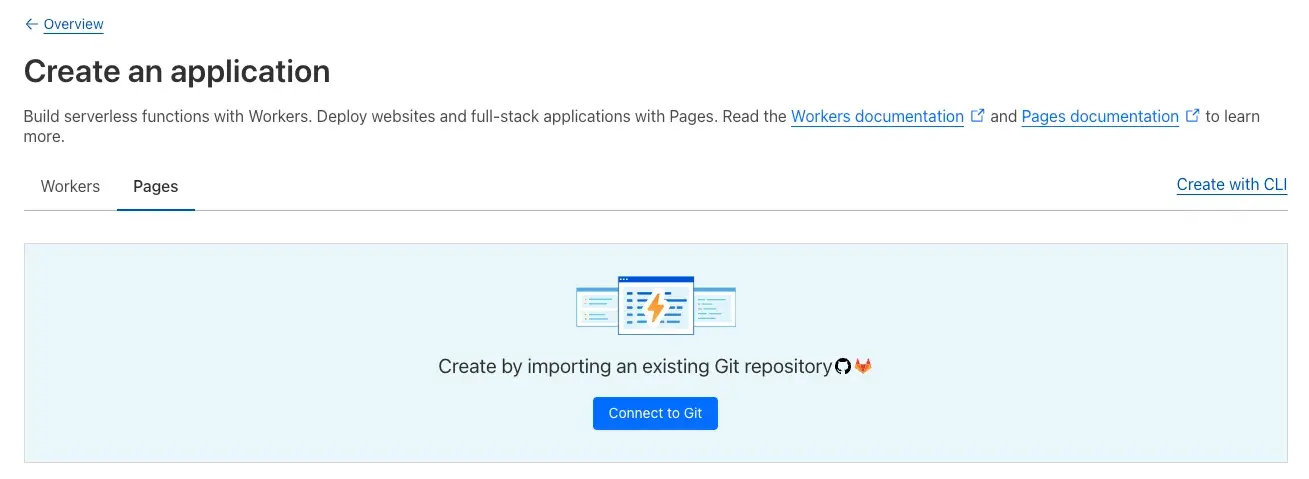
When you’re logged in, go to Workers & Pages in the sidebar. Then click on the Pages tab and select Connect to Git. You will then have to give Cloudflare access to your GitHub account. After that, you can select the repository you want to deploy. You can also choose a branch and a build command.
- For Astro:, the build command is
npm run build. And the build output directory isdist.
By default, your site gets deployed to a worker subdomain, this will be something like your-site-name.pages.dev. You can change this by going to the Custom Domains tab and adding your own domain. You will have to add a CNAME record to your DNS settings.
Build Caching
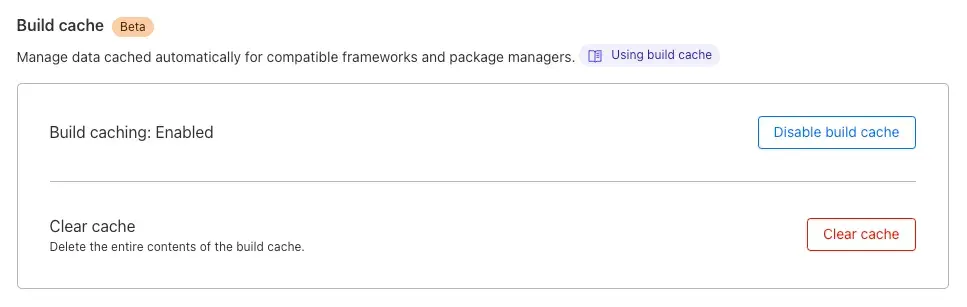
I also recommend enabling build caching. This can speed up your build times significantly. You can do this by going to the Builds & Deployments tab and enabling Build Caching. My own build times went from 48 seconds to 29 seconds after enabling build caching.
Costs
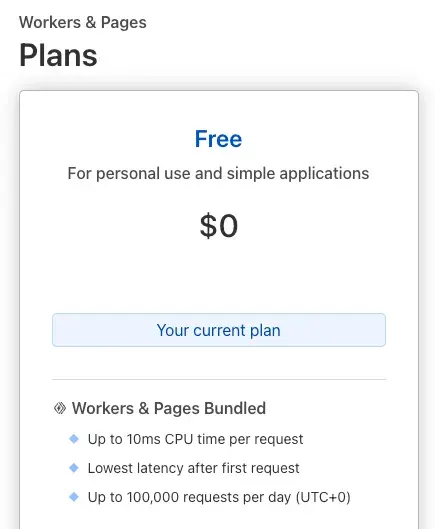
Cloudflare Pages is free if you stay within the following limits:
- 500 builds per month (one for every commit / manual build)
- 1 build at a time.
- Unlimited bandwidth
- Unlimited static requests
This makes it a great choice for building a blog.
Performance
Google PageSpeed Insights
The PageSpeed Score ranges from 0 to 100 points. A higher score is better and a score of 85 or above indicates that the page is performing well. Please note that PageSpeed Insights score fluctuates due to various reasons like network latency etc. Also, the score considers total blocking time and largest contentful paint as the main factors.
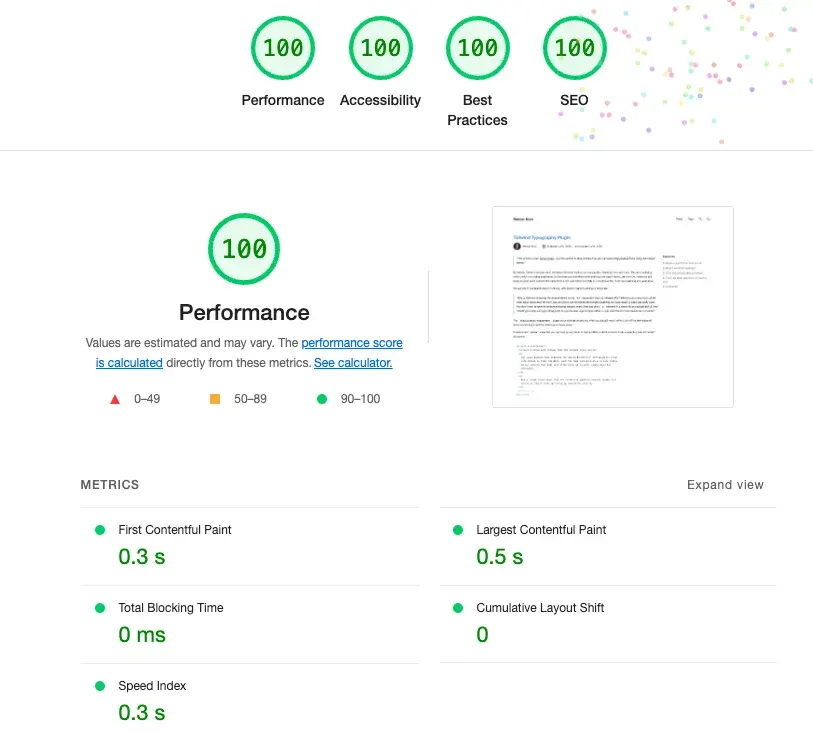
When building for production, I also use the excellent Jampack![]() , a post-processing tool to optimise the static output Astro produces. Jampack can remove unused CSS, inline critical CSS, and minify HTML, CSS, and JavaScript. This can further improve your PageSpeed score.
, a post-processing tool to optimise the static output Astro produces. Jampack can remove unused CSS, inline critical CSS, and minify HTML, CSS, and JavaScript. This can further improve your PageSpeed score.
Conclusion
In conclusion, Astro is a powerful web framework for building fast, optimised websites. Coupled with Cloudflare Pages for deployment and Jampack for post-processing, you can achieve excellent performance scores. Remember to enable build caching to speed up your build times and monitor your PageSpeed Insights score to ensure your site is performing well. Happy coding!